

So I'm finally getting the house finished up and have it on the market now.
I had this blank wall at the end of my hallway that was screaming for some decoration though.

I saw this paint chip art work online a while ago and have been itching to make one myself.
This is the inspiration that got me started.

So each of the 5 million times I have went to the hardware store in the last few months
I grabbed a few paint chips. This is the pile that I have accumulated.

So Friday night I decided that the paint chip art was going to decorate my bare hall wall.
I grabbed some cutting tools from my scrapbook days.

My handy dandy bottle of Mod Podge.


And got ready to put together my new paint chip art work!
I started by flipping the frame over and removing the backing. It was pretty simple.
Just a paper backing that needed torn off.
Then I had to pry about 25 little clips up that were holding in the cardboard backing, the picture and the mat.

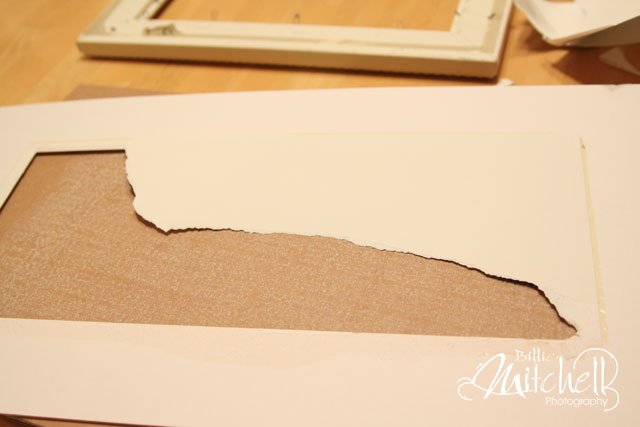
After removing the cardboard, I had to peel the picture off of it. You can kind of see in the picture below that it was glued to the cardboard. Again, no big deal. Just tore it off.
Then I took the mat and traced an outline onto the cardboard of the space that I would need to cover with paint chips.

I decided to use my square punch to cut all of my paint chips the same exact size.
But you could also do it with a paper cutter, or even scissors if you had to.
I've seen it done with overlapping circles too if you have a circle punch.
Based on the dimensions that I drew on the cardboard, and the dimensions of the squares, I figured out that I needed 60 squares cut. Only took me about 15 minutes to cut them all out.
I forgot to take a picture of it, but then I took all the squares and spread some Mod Podge on the back of each square and then stuck them to the cardboard. I didn't lay out any pattern or anything. Just randomly grabbed squares and glued them on.
(Which if you know be very well, you know that is a huge step out of my matching/pattern addiction.)

After getting them all Mod Podged down, I let it set overnight to dry. Then I grabbed some wood stain that I had purchased for $.50 on the oops rack at Home Depot for another project, and painted over top of the squares. I painted it on and then wiped a lot of it back off. Doing this just kind of gives it a little more character. Although I did learn that it dries very quickly and that I need to paint on a couple of rows and then wipe right back off immediately. Instead of painting a whole bunch and then trying to go back and wipe off. Most of it was too dry to wipe off. I found if I used a wet paper towel, that a little more of the stain wood wipe off than with a dry towel.

After the stain dried completely, I Mod Podged over top of everything.

So I didn't take pictures of the painting of the frame, but you have seen me spray paint stuff before. Didn't want to bore you with that. But I spray painted the frame white and the I decided to paint the mat a lite purple that I had on hand.
And this is how it turned out!

I wasn't sure if I would like the purple, but I'm am pleased with the results.

In this picture you can see the texture in the mat. Just a lil bit more character!

And now my blank wall isn't blank anymore.
I would like to make a larger one someday not in a frame. Similar to my inspiration piece up above. But this is good little project for the little amount of time that I had to spend on it and the little space that I needed to decorate.
So what have you been working on this summer? Any little house projects? Please share!


No comments:
Post a Comment